

 Pottery Date Night
 Bring All Your Friends Free Week
 Give a Month of Pottery
 Private Pottery Parties

 The Welcome Booklet
 Your First Ten Sessions
 The Pottery Process
 Finding the Studio
 Your Classes Never Expire
 The Four Tables
 Who’s Who
 The Rewards Program
 Flux Glazes
 The Calculators
 Kiln Tracker
 Holiday Kiln Deadlines

 Beginner’s Tool Set
 Fingernail Clippers
 Mayco Clay Mender
 Epoxy for Kintsugi
 Applicator Bottles
 Large Bead Rack
 Raku Workshop
 Nighttime Raku
 Horsehair and Feather Raku
 The Clay Hole T-Shirt
 Embroidered Crewneck
 Zip-Up Hoodie
 Pre-Made Bisqueware
 Glaze Catchers
 Kiln Cookies
 Clay Cubby Rental
 The Glaze Bible, Printed
 The Book of Molds, Printed
 Printable Pottery Guides
 Free Printable Trackers
 Gifts for Potters
 Christmas Pottery Ideas
 Mother’s Day Gift Ideas
 Pottery Date Night
 Studio Calendar
 2027 Studio Events
 What Should I Do Today?
 How to Throw on the Pottery Wheel
 How to Make a Pinch Pot
 How to Tap Center a Pot
 The Five Stages of Clay
 Is Pottery Hard to Learn?
 Pottery Wheel Practice Drills
 20 Easy Hand-Building Projects
 Everything That Sounds Wrong

 A Beautiful Piece, Every Time
 Slab Roller Tips
 Any Dish as a Slump Mold
 Slab Roller & Slab Mold Certification
 The Pottery Skill Tree
 Clay & Pottery Calculators
 Logging Your Pottery and Glazes
 The Pottery Dictionary
 Why Did My Pottery Do That?
 The Pottery Cone Chart
 Pottery Myths, Fact-Checked
 Is Handmade Pottery Food Safe?
 Incredible Ceramic Artist Videos
 How Dan Throws Giant Pots
 How to Dry Your Pottery
 The Pottery Wheel Introduction
 Pottery by Zodiac Sign
 Personality and the Pottery Wheel
 Pottery for Engineers
 ADHD, Hyperfocus, and Never Running Out
 Hobbies for Burnout
 Screen-Free Hobbies for Adults
 Every Addiction I Ever Had Lost to Art
 Functional Pottery Is Engineering
 How Do We Compare?
 Pottery Classes by City
 Every Pottery Studio in Utah
 Pottery in Draper
 Featured Members
 The Signature Wall
 Making Friends as an Adult Is Brutal
 The Clay Hole Commandments
 2027 Pottery Contests
 2027 Studio Parties
 Gallery Night

 Scream It Into the Void
 Destroy the Glaze Wall
 Daily Affirmation Cards
 Everything That Can Go Wrong
 Subscribe to Our Newsletters
 Contact The Clay Hole
 Corporate Team Building

 Glaze Combinations
 Glazes We Do Not Carry
 Making Glaze Test Tiles
 The Mega Glaze Tool
 How to Use the Mega Glaze Tool

 Glaze Brushing Techniques
 How to Use Underglaze
 How to Use Dipping Glazes
 Glaze Problems, Causes and Fixes
 The Dipping Glaze Guide

 Making a Glaze Catcher
 Fused or Sharp After Firing
 The Signature Wall
 His Viral Videos
 His Own Ceramics
 Meet Mud
Hand building, project guides · Stopperless salt shakers
Fills from the bottom and does not pour out when you turn it back over.
No cork, no plug, nothing to lose. A tube inside runs from a hole in the base to a mouth two thirds of the way up, and gravity does the rest: fill it upside down, turn it over, and the salt sits around the tube with nowhere to go. The hole sizes are the whole trick.
Four steps with a tick list at each: the closed body and the cone thrown together, the base hole and the join, the shake holes and their sizes, and waxing, glazing and filling. Six fixes and five videos, two of them from potters who sell these.
This is the short version: the body and the cone, the join, the holes and the wax, each with a tick list. The reasoning, the pepper notes and the questions are in the comprehensive version.
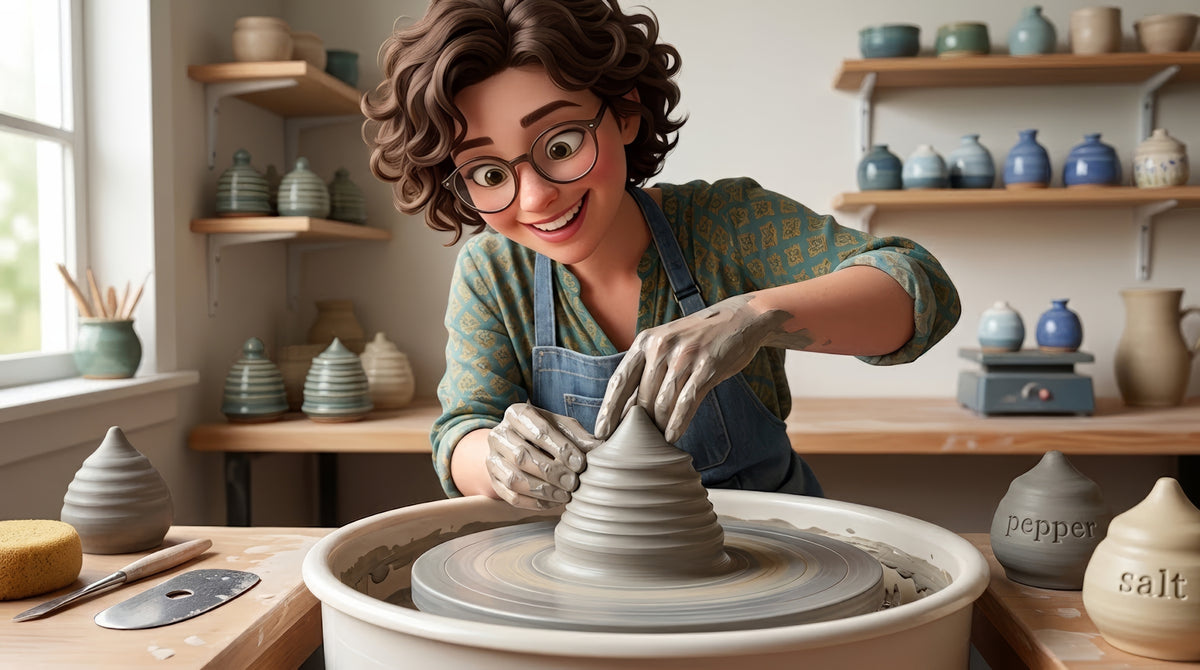
Read it, then watch it
Why this is written down and filmed, both.
A stopperless shaker is geometry: a tube of a certain length with a mouth at a certain height and holes of a certain size. Geometry is what a page holds, with the numbers next to the tick boxes, because a sixteenth of an inch is not something you remember from a video. What a page cannot show is the closed form being collared shut, or the moment a thrown cone gets pushed up into the base from underneath, and those are the videos, two of which are a minute long and from people who sell these.
Use both, in this order
Read the geometry. Watch the sixty-second build and the one with the salt in it. Throw the body and the cone on the same night with the tick list open, and join them at leather hard on the next.
The whole idea
A closed body, a tube from the base to two thirds up, and holes of the right size.
Throw a closed form and a small cone from the same clay. At leather hard, cut a half-inch hole in the base, push the cone up through it so its mouth sits two thirds up inside, and score, slip and coil the join. Pierce three to five sixteenth-inch holes in the top. Wax every hole before glazing. Fill it upside down, turn it over, shake at an angle.
The five-minute version
The whole project in six moves.
If you already close forms and you just want the shape of it, this is the shape of it. Everything below is these six moves, slowed down and with the places they fail marked.
Before you wedge
What you need at the wheel.
Six things. The hole cutter is the one worth owning, and the wax is the one people forget until the holes are glazed shut.
A pound of clay for both parts, a sponge on a stick, a stiff rib, a half-inch hole cutter, a marked needle, a tiny coil and a wooden tool, and wax resist.
Step one
Throw the closed body and the cone on the same night.
The body is a closed form. A cylinder, about a pound of clay, top third thicker, bellied a little, sponged dry inside, collared in until the rim meets itself and closes. Our enclosed forms lesson is the method, and the place a first shaker usually fails.
The cone is the tube. Throw a small open form off the hump or on a bat: about half an inch across at the wide end, tapering only slightly to a mouth about three eighths across, and tall enough that when its wide end sits in the base of the body, its mouth is two thirds to three quarters of the way up inside. Throw it a little taller than that; it gets trimmed to length. Same clay as the body, same night, so the two dry and shrink together and the join holds.
Both go under plastic together to firm to soft leather hard. A closed form dries slowly because the air inside is sealed; the small cone dries fast. Check them both, and if the cone is ahead, bag it alone with a damp towel until the body catches up. Joining parts at different moisture is the crack in the diagnostic below.
Step two
Cut the base hole, measure the tube, and join it from underneath.
Half an inch, dead center of the base. At soft leather hard, turn the body over and cut a hole the size of the cone’s wide end. Clean the edge. Push a needle up through the hole to the inside of the top and mark the height; two thirds to three quarters of that is where the cone’s mouth must sit.
Trim the cone to that length with a knife, wide end down. Score the outside of the cone’s wide end and the inside edge of the base hole, slip both, and push the cone up into the body from underneath until its wide end sits flush with the base, mouth pointing up inside. Press a tiny coil into the join on the underside and blend it flat with a wooden tool. If you can reach through the hole with a finger or a tool, blend the inside of the join too; if not, the outside coil does the work. Add a foot ring if you like, so the base hole sits clear of the table.
This is the join that decides the pot. A tube that is a hair loose in the hole, or joined dry, opens along the base in the kiln, and there is no reaching it afterwards. Our score and slip lesson is the method; this is the join it was written for.
Step three
Pierce the top. The hole sizes are the whole trick.
A sixteenth of an inch for salt, an eighth for pepper. Three to five holes in the top at leather hard, pierced with a needle and reamed from both sides so the burr does not narrow them. Smaller and the salt bridges; bigger and it pours.
Remember that everything shrinks. A sixteenth at leather hard is smaller after the glaze firing, and glaze narrows it again. Pierce a hair larger than the target and plan to clear the holes with a needle after glazing and again after the firing, with a needle or, if you have a rotary tool with a diamond bit, run wet as step four says. Mark the pepper one somehow, an extra hole or a P pressed into the base, because two identical shakers on a table are a guessing game.
Then dry it slowly, upside down on its top so the base hole and the join dry at the same pace as the body. A closed form with a tube in it is a pot with two thicknesses, and thick and thin dry at different speeds. Under loose plastic for the first days, then open. It is dry when it is room temperature to the cheek, and the bisque is cone 05 and free.
Step four
Wax every hole, glaze the outside, clear the holes, fill it upside down.
Glaze closes holes. Wax the base hole, the mouth of the tube, every shake hole and the foot ring, and let the wax go matte. Brush the outside rather than dipping; a dipped shaker takes glaze up the tube. Then clear every hole with a needle while the glaze is wet.
The inside stays bare, and that is correct: a closed form cannot be glazed inside, and at cone 5½ our clay bodies fire vitrified, so the salt is sitting on fired stoneware, not on something that absorbs. Keep the salt dry, and a few grains of rice inside keep it loose. After the glaze firing, check every hole against the light and open any the glaze closed with a needle, or with a diamond bit in a rotary tool, slowly, wet and never dry, at home, with safety glasses and an N95 or better.
To use it: turn it upside down, pour salt into the base hole through a small funnel until the salt is below the mouth of the tube, turn it upright, and shake at an angle rather than fully inverted. Fully upside down, salt runs back out the tube, which is also how you empty it. Show the person you give it to; Fine Ceramics’ thirty-second video below is exactly that demonstration.
Watch it done
Now watch four potters build the trick.
Watch this one three times, then go throw a closed form.
None of these potters work here or know we exist. Between them they cover the whole build in a minute, how it works with salt in it, filling and using one, a second maker’s version, and the closed form thrown properly. Nothing but the still frame loads until you press play.
Sixty seconds from a maker who sells these: body, cone, hole, join. The other four videos are in the comprehensive version.
When it goes wrong
Six ways it goes wrong, and what to do about each.
The three failures that happen on the first shaker.
Pick the one that looks like your shaker. The first three are the tube. The last three are the body, the fill and the glaze.
Salt falls out of the bottom when you turn it upright
The tube is too short, so its mouth sits below the salt level inside. The whole trick is that the mouth is above the salt when the shaker is upright; if not, salt runs back down the tube and out.
The tube reaches two thirds to three quarters of the way up inside the body. Fill to below its mouth, never to the brim. Measure the tube against the body before you attach it.
Fill it less. A shaker with a short tube still works at half full. Or it is a pepper shaker for coarse pepper, which does not flow as freely, and the next one gets a longer tube.
Nothing comes out of the top
The holes are too small, or glaze closed them, or the salt is damp and caked. A shake hole for fine salt is about a sixteenth of an inch, and glaze can close half of that.
A sixteenth of an inch for salt, an eighth for pepper, pierced at leather hard and reamed from both sides. Wax the holes before glazing and clear every one with a needle while the glaze is wet.
Ream the holes with a needle. If the glaze fired them shut, a diamond bit in a rotary tool opens them, slowly, wet and never dry, at home, with safety glasses and an N95 or better. Dry salt with a few grains of rice inside stays loose.
It cracked where the tube joins the base
The tube and the body were at different moisture when they were joined, or the join was not scored, or the base is the thinnest part of a closed form and dried first.
Tube and body from the same clay on the same night, firmed to the same softness, scored and slipped both faces, a coil blended round the join. Dry slowly, upside down.
At leather hard, score, slip and coil the crack from outside. At bone dry, a paste of the same clay sometimes holds through the bisque. Fired, it is a decorative object.
The body collapsed while you were closing it
A closed form is a cylinder collared in until the rim meets itself, and it collapses if the wall is thin at the top, wet, or collared too fast.
Top third thicker, water sponged out before collaring, three or four small collarings on a slow wheel. Our enclosed forms lesson is the whole method, and this is where a first shaker usually fails.
Wire it off and go again. A shaker body is a pound of clay, and a second attempt with a thicker top usually closes.
It is slow and messy to fill
The tube mouth at the base is too narrow for salt to pour through, or the tube narrows too much toward the top and the salt bridges inside it.
Half an inch across at the base opening, tapering only slightly. Salt pours in through a funnel or a folded card, and a wider tube takes it without fuss.
A small funnel from the kitchen drawer. The next one gets a wider tube.
Glaze ran into the tube or the base hole
A dipped shaker with an open base hole takes glaze up the tube, where it can close the mouth or pool at the join. The inside of a closed form cannot be glazed and should not be.
Wax the base hole and the mouth of the tube, and the foot ring, before glazing. Brush the body rather than dipping it.
A needle down the tube clears most wet glaze. If it fired shut, a rotary tool with a diamond bit, wet and never dry, at home, with safety glasses and an N95 or better, opens it; the salt will not care about the glaze inside once it is open.
How it works here
At The Clay Hole, this is two pots from one bag and a pair on one cookie.
This page is written for potters everywhere. A few things are specific to our building, so you know before you start.
Three things to know here
Hole cutters, needles and sponges on sticks are studio tools from Yellow up; Green Level Members bring their own. Wax stations are Purple and Black for brush-on work, every Level when dipping. A salt and pepper pair of the same height on one cookie fires as one piece at the $4.80 minimum.
Tools by Level
Hole cutters, needles, wooden tools, stiff ribs and sponges on sticks are studio tools for Yellow, Purple and Black Level Members; Green Level Members bring their own. A half-inch hole cutter of your own is worth having for this project; the needle-and-knife method works but leaves a rougher edge to join to.
Wax and glaze
The glaze wall needs the free brush-on glaze and underglaze certification. Wax stations are a Purple and Black Level tool for brush-on work and open to every Level on dipping day; for brush-on work at Green and Yellow, bring your own wax. This project needs wax, so plan for it.
Between sessions
Body and cone go into one bag with a damp paper towel and your name on it, so they stay at the same moisture until you join them. A closed form on an open shelf goes leather hard at the base long before the top; the bag evens it out.
Firing
Bisque is cone 05 and free. The glaze firing is cone 5½ at five cents a cubic inch, $4.80 minimum. A salt and a pepper shaker of roughly the same height on one six-inch cookie, a quarter inch apart, fire as one piece at the minimum. Every piece goes in on a cookie with a naked bottom, and on a shaker the naked bottom is where the hole is.
Questions people actually ask
The ones that come up every week.
How does it work?
There is a tube inside, open at both ends, running from a hole in the base up to a mouth two thirds of the way up the body. You fill the shaker upside down through the base hole: the salt runs down the tube and pools around it. Turn it upright and the salt lies around the tube, below its mouth, with nowhere to go. Shake it at an angle and salt comes through the small holes in the top. Fully upside down, some runs back out the tube, which is also how you empty it.
Why is it called stopperless?
Because there is no cork, no rubber plug, no screw cap. A normal shaker has a hole in the base with a stopper in it; a stopperless one has the tube instead, and the tube is what keeps the salt in. Nothing to lose, nothing to perish, nothing that tastes of rubber.
What are the hole sizes?
Shake holes about a sixteenth of an inch for salt, an eighth for pepper, three to five of them. The fill tube about half an inch across at the base, tapering only a little. The holes are the whole trick, and glaze closes them, so wax them before glazing and clear them with a needle afterwards.
How high does the tube go?
Two thirds to three quarters of the height of the body. A taller tube is safer and holds less; a shorter one holds more and spills if it is too short. Filled upside down, the salt piles up from the top holes only as far as the mouth of the tube, then stops going in. Measure the tube against the body at leather hard, before attaching it, with a needle pushed in through the base hole.
Does the inside need glazing?
No, and it cannot be. A closed form with a tube in it is unglazed inside, which is fine at cone 5½ on our clay bodies because the fired clay is vitrified and does not absorb. Keep the salt dry and put a few grains of rice in with it.
Can I make a pepper shaker the same way?
Yes, with bigger holes, an eighth of an inch, and coarse ground pepper. Fine pepper works like salt. The tube geometry does not change; only the holes do, which is why potters mark the pepper one with a P or an extra hole.
Is this really an advanced project?
It is three intermediate things at once: a closed form thrown and collared shut, a small thrown cone, and a join between them that has to be perfect and invisible, plus hole sizes that have to be right before the kiln makes them permanent. None of it is hard on its own. Doing all of it on one four-inch pot is.
Related lessons
Six lessons that sit next to this one.
Three to read next.
A stopperless shaker is a closed form, a join and a resist, done small. These are the pages for each.
That is the whole project
Closed body. Cone to two thirds. Sixteenth-inch holes. Wax everything. Fill upside down.
Your first one will have a tube a little short and one hole the glaze closed, and you will find both out at the table. That is normal, and the second pair will be right. Nothing else you make gets picked up, turned over and asked about as often as a shaker with no plug in it.
If you want the geometry explained, the pepper notes and the answers to the questions everybody asks, switch to the comprehensive version at the top. Otherwise, go throw a closed form.
Written for potters everywhere. Where our studio does things differently, the page says so.
Which version would you like to print?
Both print clean, with the videos turned into labeled boxes you can search for later.
