Glaze Brushing Techniques for Pottery: Tools, Tips & Beautiful Results
Brushing glazes is a whole art form in itself—one that can make or break the look and feel of your final piece. Whether you’re glazing at home, in a studio, or right here at The Clay Hole, this guide will walk you through **everything you need to know** to get clean, even, stunning glaze finishes using brushes and sponges.
Why Brushing Glaze Is Different from Dipping or Pouring
Not all glazes are created equal. Most commercial brushing glazes are formulated with **additives like CMC gum and bentonite** that help them stay suspended, dry more slowly, and stick to vertical surfaces. Dipping glazes, on the other hand, are thinner, more fluid, and designed to bond in just a few seconds of immersion.
Heads-up: Always check the label. If it’s a dipping glaze, brushing it may lead to streaking, unevenness, or peeling.
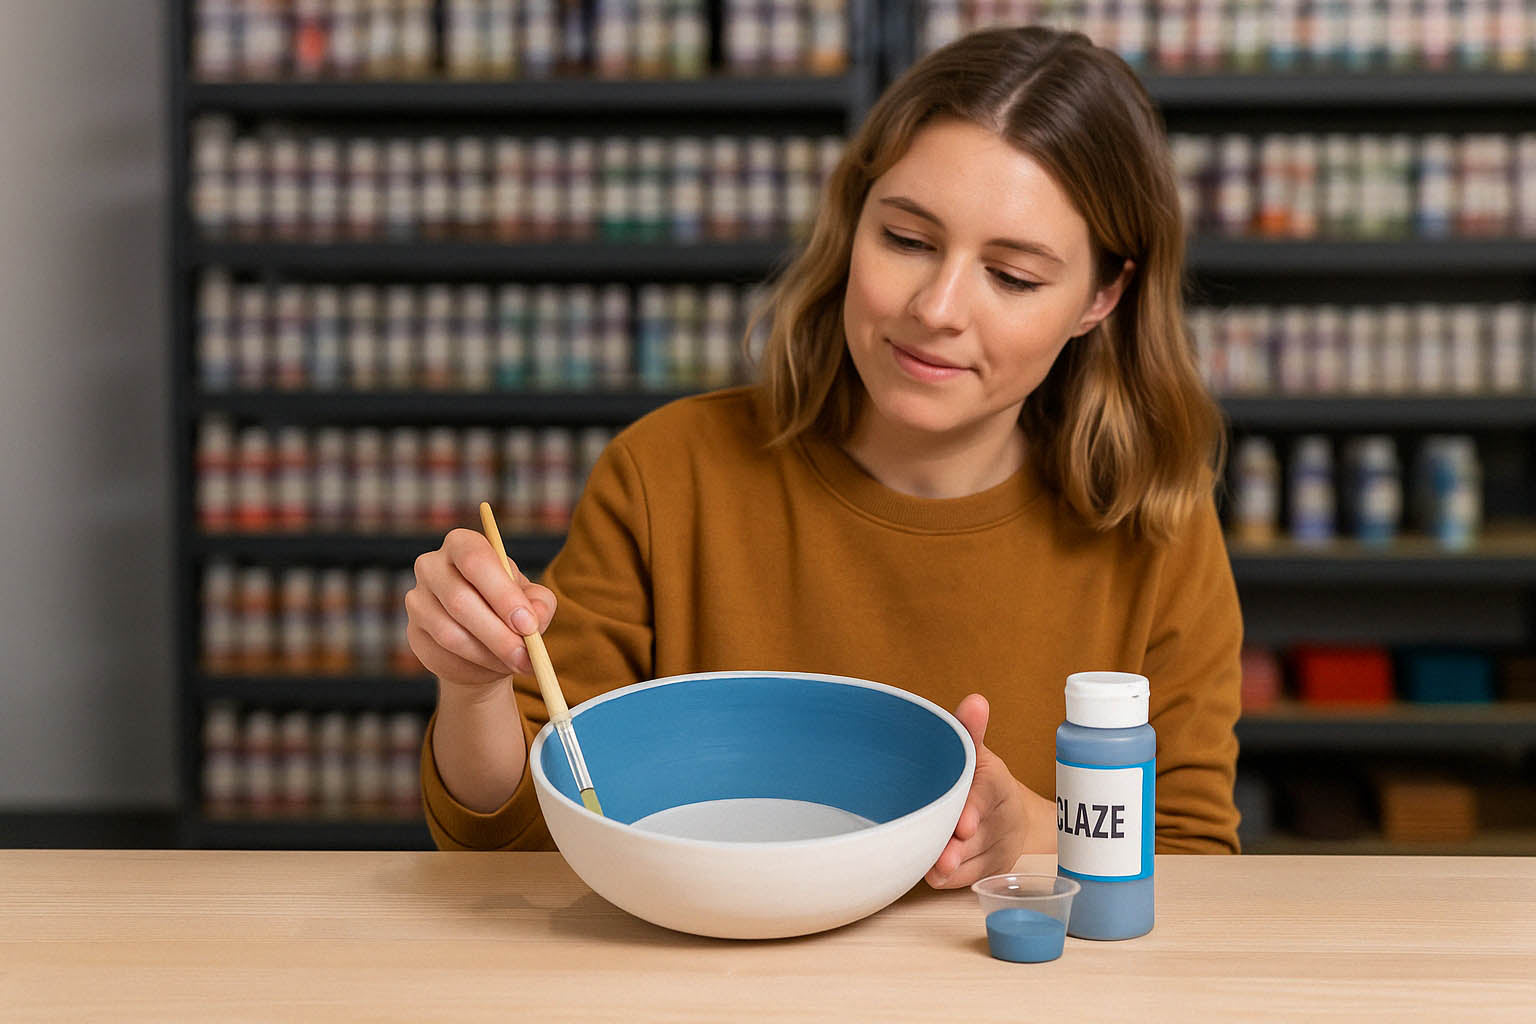
1. Choose the Right Glaze for Brushing
- Commercial brushing glazes: Amaco, Coyote, Mayco, and Spectrum offer excellent options that dry predictably and stay stable across multiple coats.
- Dipping glazes: Not ideal for brushing unless reformulated. Some students try anyway, but results are usually inconsistent.
At The Clay Hole, you’ll find over 500+ commercial brushing glazes already mixed and ready to go—no guesswork required.
2. Surface Prep: Start with a Clean Bisque
Before brushing anything, make sure your bisque-fired piece is:
- Fully dry (don’t glaze right after rinsing)
- Wiped clean with a slightly damp sponge to remove dust
- Free from fingerprints or oil—wearing gloves is helpful if you're handling a lot of pieces
3. Types of Brushes & Tools for Glazing
✔️ Soft Fan Brushes
Best for covering broad areas with even, thin coats. Great for transparent or translucent glazes where brush marks are undesirable.
✔️ Round Mop Brushes
Hold more glaze and offer more controlled application. Good for layering or when working into textured surfaces.
✔️ Flat Brushes
Best for crisp lines and directional control. Ideal for geometric areas or edges where you want a defined line.
✔️ Detail & Liner Brushes
Used for accenting, drawing lines, or layering underglaze beneath or over your glaze work.
✔️ Natural Sea Sponges
Fantastic for textural effects or creating soft fades. Dip and dab rather than drag for more organic results.
✔️ Foam Brushes
Occasionally used, but not ideal for detail. Can be helpful for quick, rustic applications where brush marks are welcome.
4. Best Practices for Brushing Glaze
- Always stir thoroughly. Brushing glazes settle fast and need full suspension before each use.
- Use 2–3 coats minimum. Apply in opposite directions: vertical, horizontal, diagonal. This prevents thin or bare spots.
- Let each coat dry completely. If it’s tacky or damp, the next coat may pull up the one beneath it.
- Hold pieces upright. Brushing vertically on a vertical surface helps reduce streaking and pooling at the base.
5. Glazes That Brush Beautifully (Examples)
Some glazes shine when brushed—others not so much. Here are a few favorites our students love at The Clay Hole:
- Amaco Celadons: Fantastic for brushing. Thin and transparent, but build easily with 2–3 coats.
- Mayco Stroke & Coat: Great for both underglaze and glaze effects. Excellent layering potential.
- Spectrum Shinos: Brushing can enhance their natural variation and layering effects.
- Coyote Satins: Super forgiving for brushing—especially rich on textured pieces.
6. Common Mistakes (And How to Fix Them)
- Streaking: Usually caused by under-mixing or applying the next coat too soon. Let each layer dry.
- Cracking/Flaking: Often from applying too thick or using a dipping glaze by mistake.
- Unintended color changes: Comes from overlapping incompatible glazes or brushing onto dust/oil.
- Uneven color: Usually a coverage issue—try alternating directions between coats.
7. Bonus Tips for Beautiful Brushed Glaze Work
- Use wax resist on the foot to keep glaze off the bottom—brushed glazes can drip when applied too thick.
- Experiment with layering. Try two different glazes brushed over one another. Keep records!
- Practice with test tiles. Brushing reveals different results than dipping—test combos before committing to a piece.
Conclusion
Brushing glaze isn’t just a backup option—it’s a skill worth mastering. With the right glazes, brushes, and attention to detail, you can achieve gorgeous, artistic surfaces that are just as stunning as dipped pieces—sometimes more. Our members at The Clay Hole love the freedom that brushing gives them, and you will too.
FAQs
Can I brush any glaze I find online?
No. Make sure the glaze is specifically labeled for brushing. Dipping glazes have different chemistry.
How long should I wait between coats?
Let each coat dry fully to the touch—usually 5–10 minutes. If it’s still damp, wait longer.
Can I mix my own brushing glaze?
Yes, but it requires adding gum solutions and testing. For most people, starting with commercial brushing glazes is best.
Find us at our studio
Located in Draper, Utah—serving Salt Lake County and Utah Valley. Come glaze with us and find your perfect finish.