Pottery basics

How to Wedge Clay (And What It Actually Does)

Wedging is the boring part. It happens before the fun, nobody films it, and no potter in history has ever posted a photo captioned “look at this beautifully prepared lump.”

It still decides how the next hour of your life goes.

Below are three ways to do it, three videos from potters who explain it better than I do, and a real set of tips for each one. There is also a section on two things you have almost certainly been told about wedging that are not true.

I know they are not true. I am the one who put one of them on this page.

The point

What wedging actually does

Wedging is kneading. That is the whole idea. You push clay around on a table until it stops being a lumpy brick with opinions and starts being one consistent thing.

Four things happen while you do it.

It evens out the water

Clay does not come out of the bag uniform. There are stiff patches and soft patches, and on the wheel those behave like two different materials. The soft part gives while the stiff part shoves back. That is the wobble you spend twenty minutes chasing and then blame on the wheel.

It wakes the clay up

Clay that has been sitting still gets stiff and stubborn. That is a real property with a real name, thixotropy, and working the clay breaks it down. Same clay, better attitude. This is why a bag that felt like a paving stone can feel lovely ten minutes later without you adding a drop of water.

It closes up pockets

An air pocket is a thin spot waiting to happen. On the wheel it turns up as a small blister that opens under your finger at the exact moment the wall gets thin, which is to say the worst possible moment. It also throws off your centering, because the lump is no longer the same density all the way through.

It lines up the particles

Clay particles are flat and platey, and wedging is supposed to organize them so they grip each other instead of sliding past. Potters argue about how much this one matters. Some swear by it. Some cannot feel a difference at all. I am in the first camp, and I am also not going to pretend the question is settled.

Notice what is not on that list.

Two corrections

Two things you have been told that are not right

Both of these get repeated in studios everywhere, by good teachers, with total confidence. One of them was sitting on this exact page until recently, in my own words, under my own name.

So. Warts out.

1

“Air bubbles make your pot explode in the kiln.”

Mostly false

Water makes your pot explode. Not air.

Here is what actually happens. Your piece feels bone dry on the outside while the middle is still holding moisture. The kiln climbs past 212°F, that trapped water turns to steam, and steam wants roughly seventeen hundred times the room that water did. Something has to give. Usually it is your pot.

Air by itself does not do that. Dry clay is porous. Air strolls out through it without any drama at all.

So why does the bubble keep getting blamed? Because it is standing right next to the body when the police arrive. A pocket buried in a thick wall is a warm humid spot where moisture goes to hide, and it stops that section from ever drying all the way through. The bubble is the accomplice. Water is the one who did it.

Wedge anyway. Bubbles genuinely wreck your throwing. Just know that the thing actually saving your pot from the kiln is drying it all the way through first.

2

“Wedge properly and you will not get s-cracks.”

Not really

S-cracks come from the floor of the pot, and they come from two things. Not compressing that base enough while you throw, and a base that dries at a different rate than the walls.

Clay shrinks as it dries. If the floor of your pot shrinks on a different schedule than the sides, the stress has to go somewhere, and it goes out from the middle in that tidy little S.

You can wedge for twenty minutes and still get an s-crack.

I know, because I have.

What actually helps: compress the base while it is still on the wheel, press it again with a rib, then dry the piece slowly and flip it over at leather hard so the bottom can catch up to the walls.

None of this means wedge less

It means wedge for the reasons that are real, so that when something does go wrong you go looking in the right place instead of adding another five minutes to a step that was never the problem.

Pick one

Which method should you be using?

There is no best one. There is a best one for the clay in front of you and the body you are standing in. Three taps and I will tell you where to start.

1What are you wedging?
2How much of it?
3How are your wrists and shoulders?
1

Ram’s Head

Also called bull’s head, ox head, or elephant ear, depending on who taught you and which animal they had on the brain.

This is the one almost everybody learns first, and for a good reason. Both hands do the same thing at the same time, so your brain only has to hold one idea while your body figures out the rest.

Best first method Up to about 5 lbs Hardest on wrists
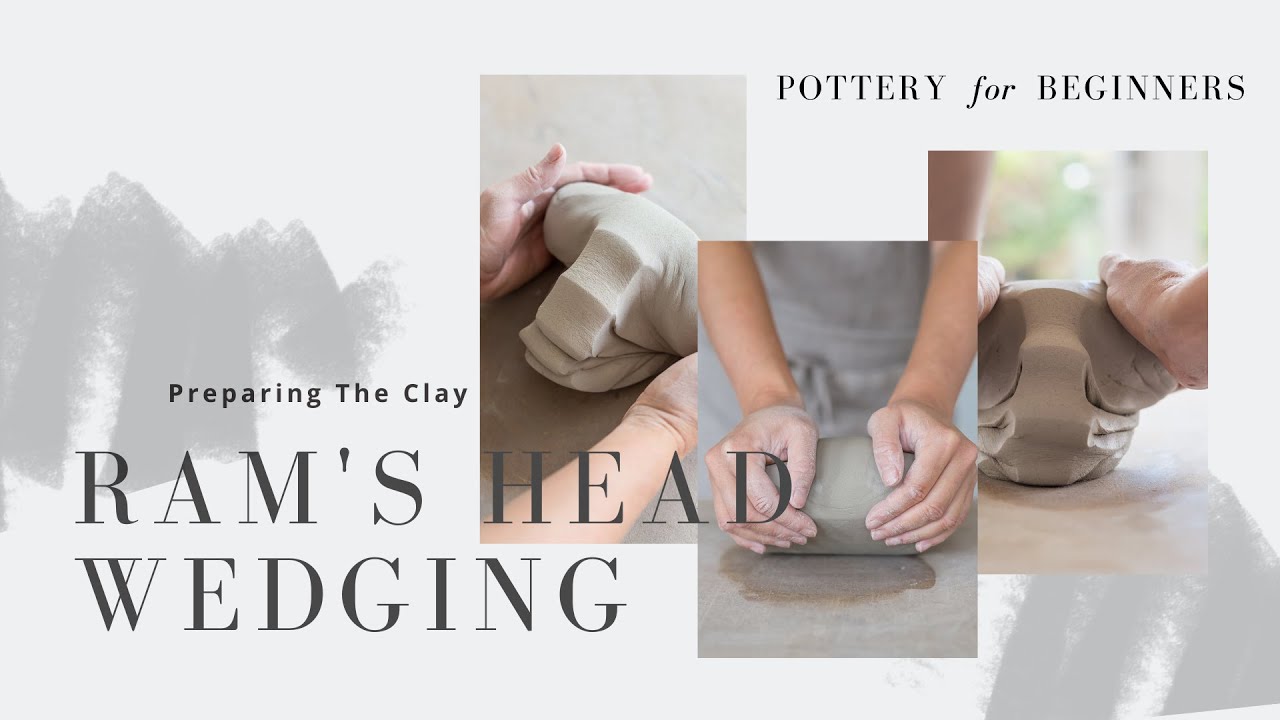
Video thumbnail for a ram’s head wedging demonstration by Kara Leigh Ford Rams Head Wedging: Preparing The ClayKara Leigh Ford

Video by Kara Leigh Ford. Not one of ours, and not affiliated with us. Just very good at explaining this.

Tips for ram’s head

1

Push down and forward. Never fold.

This is the most common mistake in all of wedging, and it is a genuine own goal. Folding the top half over the bottom half traps a fresh pocket of air on every single repetition. You are not making a sandwich. You are rocking the clay forward into the table and letting it curl back on itself under its own weight.

2

Cup your hands or you get a pancake

Thumbs sit on top, and the heels of your hands squeeze inward at the same time they press down. Skip the inward part and the lump just spreads out flat. Keep your hands close together too. Too far apart and the horns run wider on every push until the whole thing is a puddle.

3

Use your body, not your arms

Stand over it. Get the weight of your torso above your hands and rock forward from the hips so gravity does the pressing. If your shoulders are burning after two minutes, you are lifting the clay instead of leaning on it.

4

Start with less clay than you think

Ram’s head gets harder much faster than the lump gets bigger. Two or three pounds is plenty to learn on. Wedging three small lumps beats wrestling one large one, and your wrists will file noticeably fewer complaints about it.

5

Watch the crease at the bottom

As you rock, the lower edge opens and closes like a little mouth. Air working its way out shows up right there, as the clay separating along that fold. When it stops doing that, you are getting somewhere. It is the closest thing wedging has to a progress bar.

6

Count. Do not guess.

Fresh from the bag, about 30 pushes. Reclaim, plan on 100 or more. Not wedging long enough is the second most common mistake and it is the one nobody catches themselves making, because a dozen pushes feels like a lot when your arms are involved. There is a counter further down this page.

7

Finish by rolling the nose up

Ease off the pressure over your last few pushes, then roll the lump toward you so those folds at the bottom get tucked up into the spiral. What you want at the end is a cone or a ball with no seam left underneath it.

Full ram’s head walkthrough

2

Spiral

The one that looks like magic on the internet and like a car accident on your table for the first month.

Florian Gadsby makes this look like breathing. It is not breathing. Give yourself a few weeks and a decent pile of ruined lumps before you decide whether it is for you. Once it clicks, it moves more clay with less effort than anything else you can do by hand.

Most efficient Handles big lumps Takes weeks to learn
Video thumbnail for a spiral wedging demonstration by Florian Gadsby How to Spiral Wedge ClayFlorian Gadsby

Video by Florian Gadsby. Also not one of ours. Also annoyingly good.

Tips for spiral wedging

1

Your two hands do two different jobs

This is the thing that unlocks it, so read it twice. Ram’s head is symmetrical. Spiral is not. One hand presses and does the actual work. The other steers and holds the outside wall. Almost everyone who struggles with spiral wedging struggles because they are trying to make both hands move the same way, which is exactly the skill they just spent a month learning.

2

Push and twist. Still no folding.

Same rule as before, because it is the rule. The motion is a press away from you and down toward the table, with a small rotation riding along with it. It should feel continuous. The second you start folding clay over onto itself, you are putting air right back where you took it from.

3

Turn the whole lump a little each time

Ten or fifteen degrees between presses. Not a quarter turn. Those small increments are what build the spiral. Big turns just mash the same few spots over and over and leave the middle of the lump completely untouched.

4

Support the outside or you get a mushroom

If your steering hand is not holding that outer wall, the clay spreads sideways and flattens into a mushroom cap. That hand is doing real work even though it looks like it is loafing. When the mushroom appears, the fix is almost never more pressure. It is more support.

5

Your surface matters more here than anywhere

Too slippery and the clay slides around instead of gripping, so nothing you do transfers into the lump. Too dry and porous and it drinks the water straight out of your clay while you work. Unsealed wood, plaster and canvas all behave. Sealed laminate and bare metal do not.

6

Stagger your stance, move your whole body

Feet apart, one foot slightly forward, and let your torso rock with the motion instead of holding still and pumping your arms. Done right, your arms are guides and your body is the engine. Done wrong, your wrists are the engine, and wrists were never built to be engines.

7

About the direction, since it confuses everyone

Most Japanese instruction assumes a wheel that spins clockwise. American wheels spin counterclockwise. Some potters mirror their spiral to match the wheel, and some are convinced it makes no difference whatsoever. I am telling you the disagreement exists mostly so you do not spend a month convinced you are doing it backward. You are probably fine.

Full spiral walkthrough

3

Stack & Slam

Also called wire wedging, cut and slam, or slice and slam. Cut the clay in half, stack it, slam it back together, repeat until the layers vanish.

It is loud. It is deeply satisfying. It is also, by a wide margin, the easiest of the three on your joints, and it is the only one that will happily blend two completely different lumps into one.

Kindest on your body Best for mixing Needs a cutting wire
Video thumbnail for a stack and slam wedging demonstration by Expert Clay Stack and Slam Wedging: Why and HowExpert Clay

Video by Expert Clay. Third video, third person who does not work here.

Tips for stack and slam

1

Clean flat faces, or you undo the whole thing

This is the one real failure mode. When the two halves meet, the surfaces touching each other have to be flat and undented. Fingerprints, dimples and wrinkles trap air right at the seam, which is precisely what you came here to avoid. Pick the clay up with flat open hands, not clawed fingers.

2

Rotate 90 degrees between cuts

Cut on the same plane every time and all you are doing is making thinner and thinner layers in one direction. Turn the block a quarter turn between cuts so the new cut crosses the old ones. It mixes several times faster for exactly the same effort.

3

Slam a few times per cycle, not once

Two or three good slams before each cut keeps the block short, square and easy to handle. Stack without slamming enough and the block climbs taller and skinnier every round until you are trying to cut a wobbling tower.

4

Count cuts, not slams

Around 10 cuts for fresh clay. 25 or more for reclaim, or when you are blending two bodies together. The lovely thing about this method is that it shows its work: you can literally watch the layers get thinner until you cannot see them anymore.

5

This is the method for sore wrists

It uses gravity and your whole arm instead of loading your wrist joints under sustained pressure. If ram’s head or spiral leaves you aching for two days, switch to this one and please stop treating it like a downgrade. Nobody has ever looked at a finished pot and known which way it was wedged.

6

The honest caveat: it de-airs less well

Stack and slam is the champion at mixing and the weakest of the three at getting air out. If you are heading for the wheel, finish with thirty seconds of ram’s head pushes to close things up. That combination is genuinely the best of both, and it is what I would tell you to do if you only ever learn one routine.

7

Mount your wire if you do this often

A cutting wire fixed to the edge of your table at roughly a 45 degree angle turns this into a two-handed rhythm instead of a hunt for the tool between every cut. If you are prepping a whole batch it comfortably halves the time.

There is no deep-dive page for this one yet

We have full walkthroughs written for ram’s head and spiral, but stack and slam has not gotten one. Until it does, the Ceramic Arts Network write-up is the best thing on the internet about it.

Checking your work

How to know when you are done

You cannot tell from the outside. A badly wedged lump and a perfectly wedged lump look identical sitting on the table, which is why so many people stop early and feel great about it.

So cut it open. Run a wire straight through the middle and look at the face. It takes four seconds and it is the only honest answer you are going to get.

Keep going

Dark holes and obvious banding

Those dark spots are air pockets, and the wavy stripes are patches of clay at different moisture levels that have not blended yet. If you see either one, you are not close. Squish the two halves back together carefully, rounded face to rounded face so you do not trap a new pocket, and keep wedging.

The faster version: the bend test

If you do not want to cut the lump, bend it gently instead. Any air pockets sitting near the surface will pop open along the bend and announce themselves. It is less thorough than a cut, but it is quick, and quick is what you will actually do.

Stop guessing

A counter, because you are stopping too early

Every studio in the world is full of people who wedged twelve times and felt like heroes. Twelve is not a number. Twelve is a warm-up.

Set it up, prop your phone against something, and tap once per push. Or just look at the target and count in your head. I am not going to know.

Method

Clay

Target: 30 pushes

Fresh clay out of the bag is already de-aired at the factory, so this is mostly about evening out moisture and waking it up.

Targets are starting points, not laws. Clay does not read.

Something is wrong

What is my clay doing?

Tap whichever one sounds most like your afternoon.

Pick a symptom above and I will tell you what is causing it and what to do about it.

Last thing

Just wedge it

Here is the whole page in one paragraph. Wedging evens out the water, wakes the clay up and closes the pockets. It does not prevent kiln explosions, because that is drying. It does not prevent s-cracks, because that is compression. And there is no correct method, only the one that suits the clay in your hands and the body you happen to be standing in.

Pick one. Do it for longer than feels necessary. Cut it open now and then to keep yourself honest.

Nobody has ever walked up to me after a class and told me the thing that ruined their pot was too much wedging.

Not once. Not one person. Not ever.

Now go hit some clay against a table.

Dan PearceFounder, The Clay Hole